Creating richly textured junk journal pages is one of the best ways to bring depth, warmth, and personality to your winter crafts. In this tutorial, I’m sharing how I built textured, layered pages in my current winter junk journal using techniques like gesso, die-cut snowflakes, vintage ephemera, and distressed paper.
Whether you’re a beginner or experienced junk journaler, these simple ideas will help you create cozy, vintage-inspired winter spreads that look beautifully detailed.
❄️ Why Texture Matters in Winter Junk Journaling
Winter themes naturally lend themselves to layers — think snow, frost, and soft muted colors. By adding texture to your pages, you create:
- depth and dimension
- a cozy, nostalgic feel
- more visual interest
- a base that enhances vintage photos and ephemera
Below, I break down each technique I used in this journal spread so you can recreate the look.
❄️ 1. Create a Base Using Thin Card
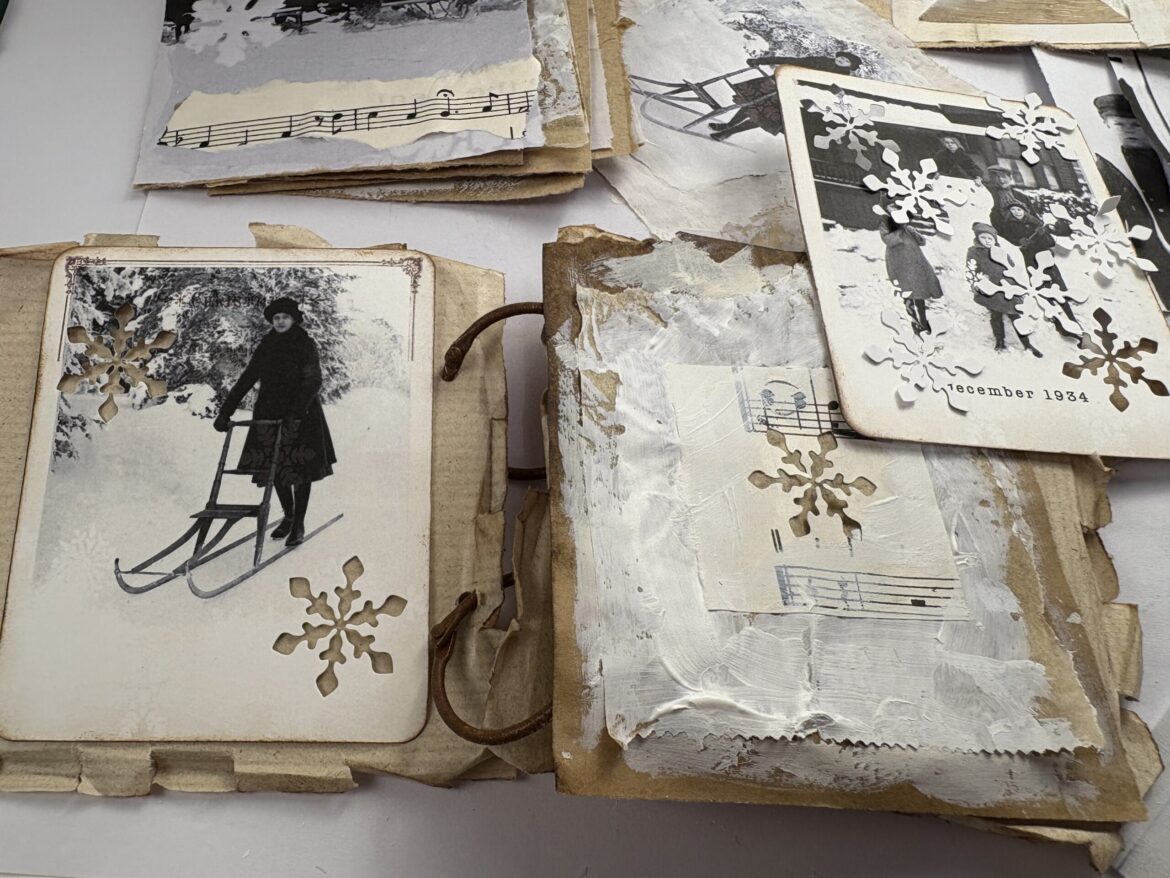
Start your winter junk journal spread with an imperfect foundation. I used squares of brown card as my base and then added:
- old papers
- sheet music
- snowy images
These materials bring instant vintage charm and work perfectly for shabby-winter themes. Let the edges remain rough or torn — the imperfections add character and texture right from the beginning.
❄️ 2. Add “Snowy” Texture With Gesso or White Paint
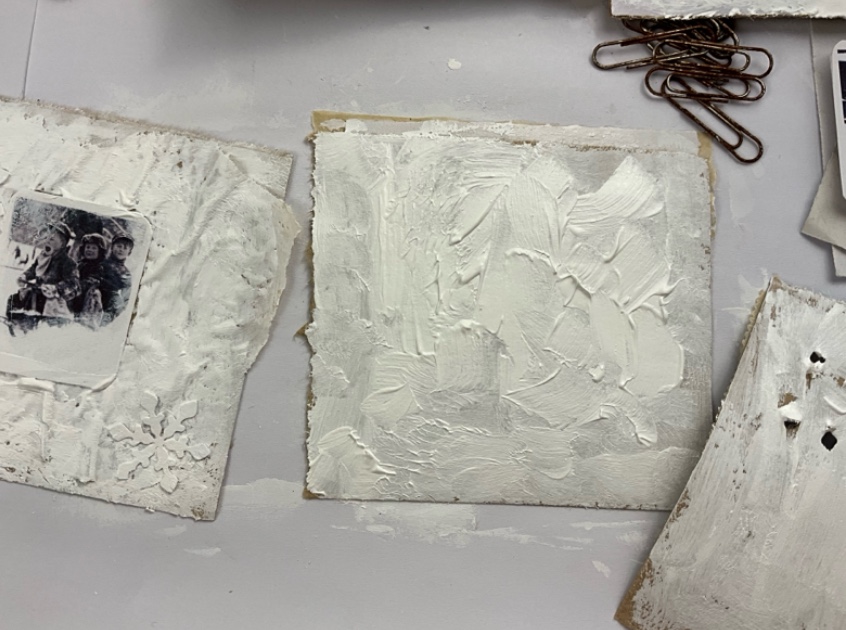
To create a frosty winter background, I applied a layer of white gesso to some of my pages.
Tips for winter textures:
- scrape gesso instead of brushing it
- apply thicker areas to mimic snowdrifts
- leave gaps where the paper can show through
- use a palette knife edge to create subtle lines
This step is perfect for anyone trying to make their junk journal pages look rustic, weathered, and wintry.
❄️ 3. Layer Vintage Ephemera for Depth
Layering is key in junk journaling. For these pages, I used:
- torn vintage music sheets
- scraps with deckled (uneven) edges
- old winter photographs
Music paper is especially lovely for winter journals because the notes add movement and nostalgia. Let some pieces peek out from under the gesso for a naturally layered look.
❄️ 4. Use Die-Cut Snowflakes or a punch to Create Dimensional Focal Points
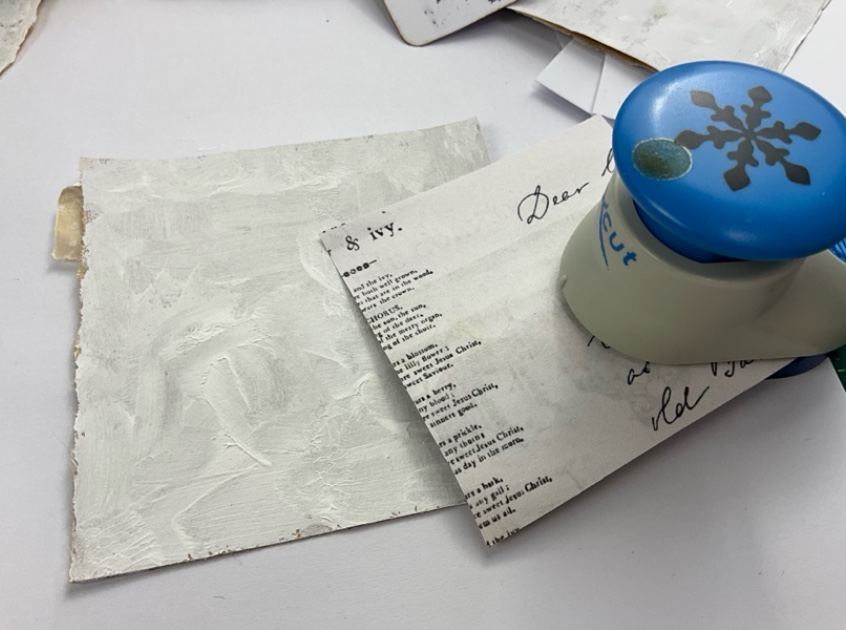
One of the most eye-catching elements in this journal spread is the cut out snowflakes. I used them as:
- layered embellishments
- cut-outs that reveal background layers underneath
Snowflake shapes instantly reinforce the winter theme, and the contrast between crisp die-cuts and rough backgrounds makes the page feel dynamic.
Experiment with:
- stacking multiple snowflakes
- mixing sizes and materials
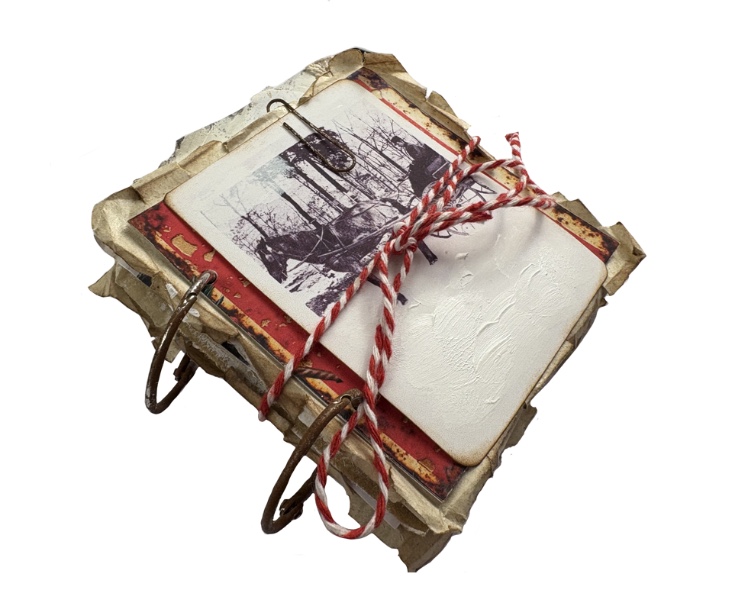
❄️ 5. Add Vintage Winter Photographs

Vintage black-and-white winter photos add atmosphere, nostalgia, and a sense of story. I used several photos of people in snowy scenes, which pair beautifully with the layered neutrals and textured snowy backgrounds.
Use as journaling cards, pockets, or tuck spots.
❄️ 6. Embrace Imperfection for an Authentic Winter Look
One of the best parts of winter junk journaling is how naturally the theme embraces imperfection. Uneven paint, torn edges, rough surfaces — these all mimic the organic textures of snow and weathered winter scenes.
Let your materials guide you and don’t smooth out every rough area. The imperfections make the page feel warm, real, and handmade.
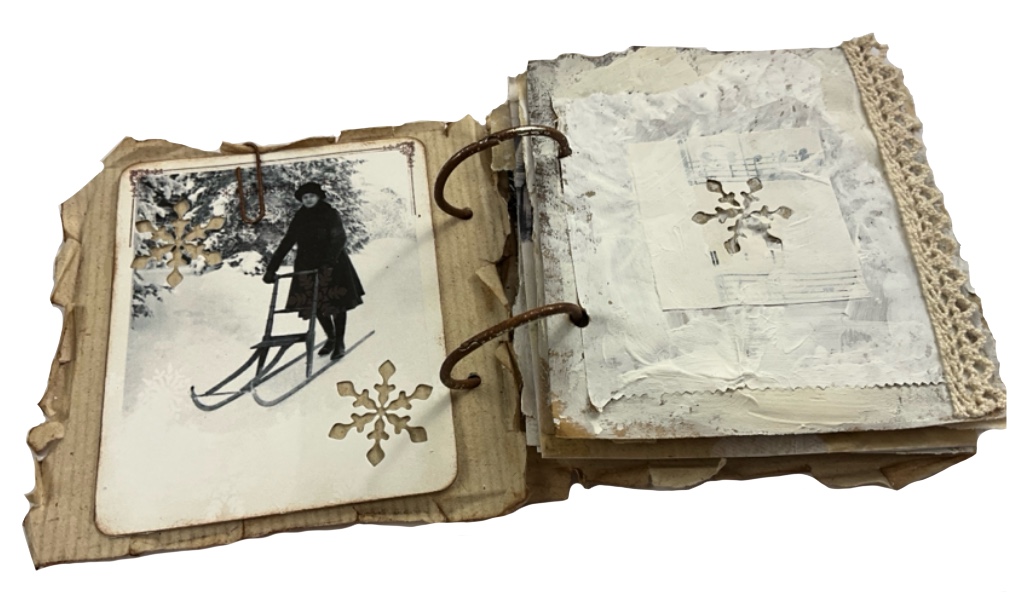
❄️ Turn Your Pages Into a Mini Book
This simple binding method is perfect for creating a keepsake-style journal you can flip through.
1. Create Your Front and Back Covers
Cut two pieces of sturdy cardstock, chipboard, or thick packaging to the size you’d like your mini book to be. Cover them with winter papers, textured gesso, or layered scraps to match the white-winter aesthetic of your pages.
2. Prepare and Stack Your Pages
Gather your completed Journal Pages. Stack them in the order you want. A mix of textures, layers, and winter details looks especially lovely when the book is bound together.
3. Punch Two Holes
Using a hole punch or crop-o-dile, make two evenly spaced holes along the left side of your covers and pages. Keep them aligned so your mini book opens smoothly.
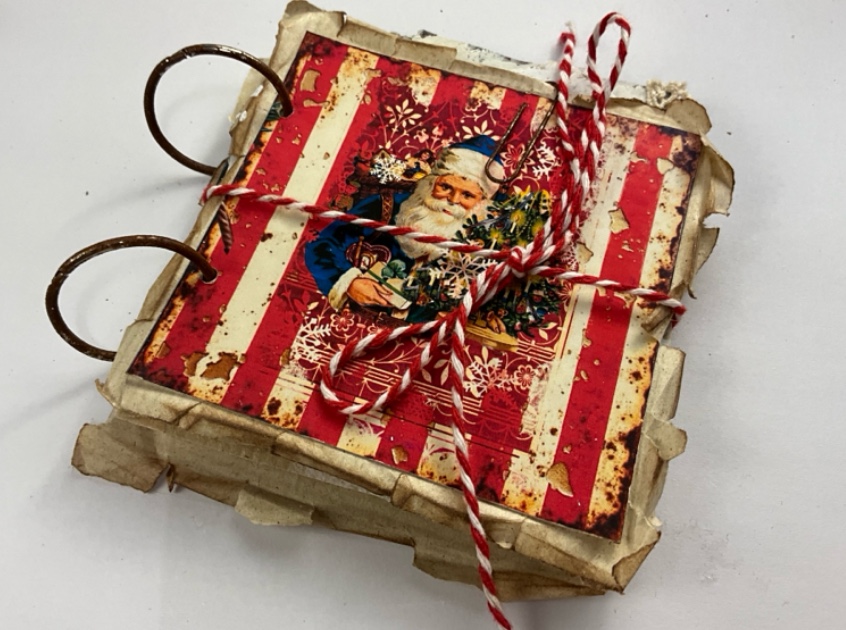
4. Bind With Rings, String, or Twine
Attach your pages using binder rings, string, or red-and-white twine for a festive touch. Rings create an easy flip-through style, while twine gives a softer, handmade feel.
5. Add Finishing Touches
Tie charms, tags, or scraps of ribbon onto the binding for extra winter charm. You can also tuck pockets, photos, or journaling cards inside to make the book feel full and personal.
Creating a mini book is a beautiful way to turn your textured winter pages into a cohesive, treasured piece of art — a little White Winter journal you can return to year after year.
❄️ Final Thoughts
Building texture and layers in your winter junk journal is a wonderful way to create cozy, nostalgic pages full of depth and personality. By combining simple materials — gesso, torn paper, vintage ephemera, and snowflake die-cuts — you can create stunning winter spreads that look rich and dimensional.
Leave a Reply