✉️ This tutorial was created to accompany a special printable mini book kit, available exclusively to Well Loved Journals newsletter subscribers.
If you’re not yet subscribed, Sign up now and receive your free kit and future creative gifts.
Why Make Mini Books?
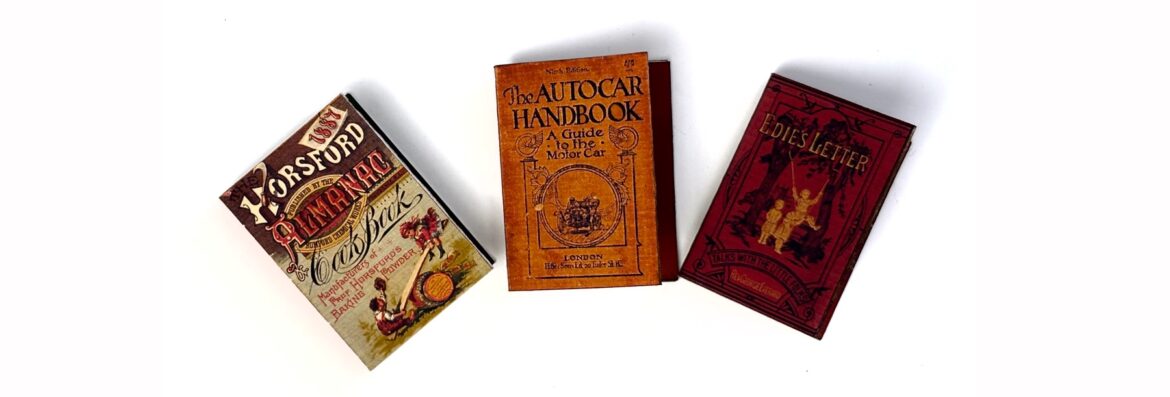
Mini books are a beautiful way to capture small stories, moments, or themes without the pressure of filling a full-sized journal. Their tiny format makes them quick and satisfying to complete, perfect for experimenting with layouts, colour, or collage ideas. They can be used as pocket journals, memory keepsakes, or thoughtful handmade gifts. Mini books also make a great creative warm-up project — a gentle way to play with paper, use up scraps, and enjoy the process of making something tangible and complete in just a short session.
What You’ll Need
- The Well Loved Journals mini book printable kit (subscriber-only freebie)
- Scissors or craft knife
- Bone folder or blunt knife for scoring
- Glue stick
- Ruler and cutting mat (optional)
Step 1: Print & Cut Out the Mini Book Covers & Pages
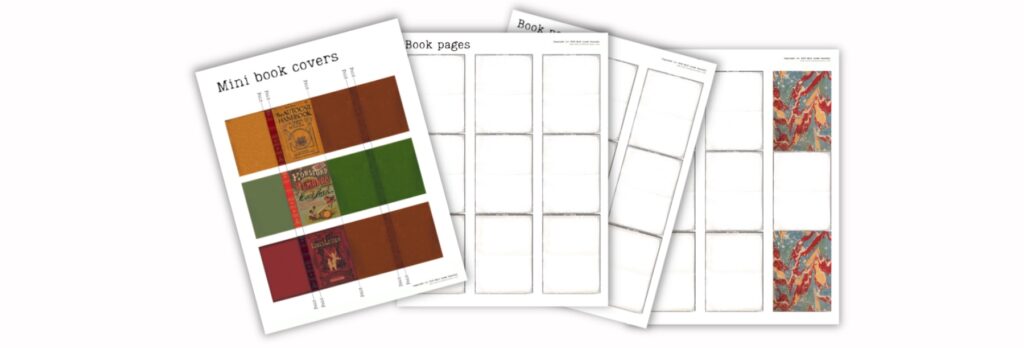
Print the mini book pages on regular paper and the covers on lightweight cardstock for added strength. Cut out the covers, 24 pages, and patterned inside covers. The pages printouts make the inside of one mini book — print extra copies to create all three.
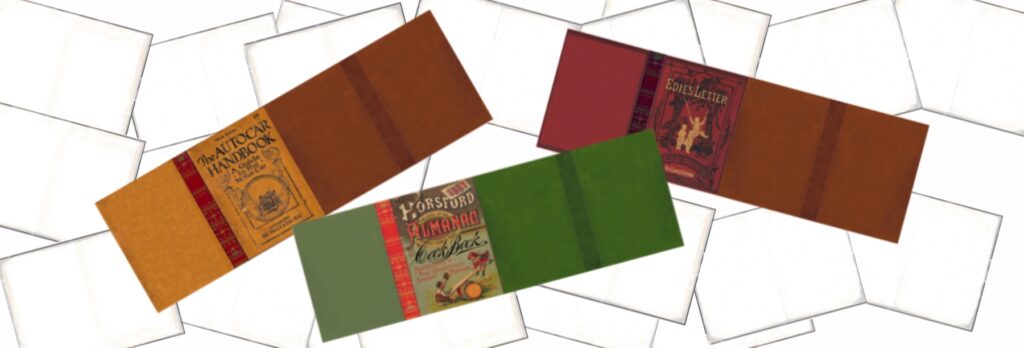
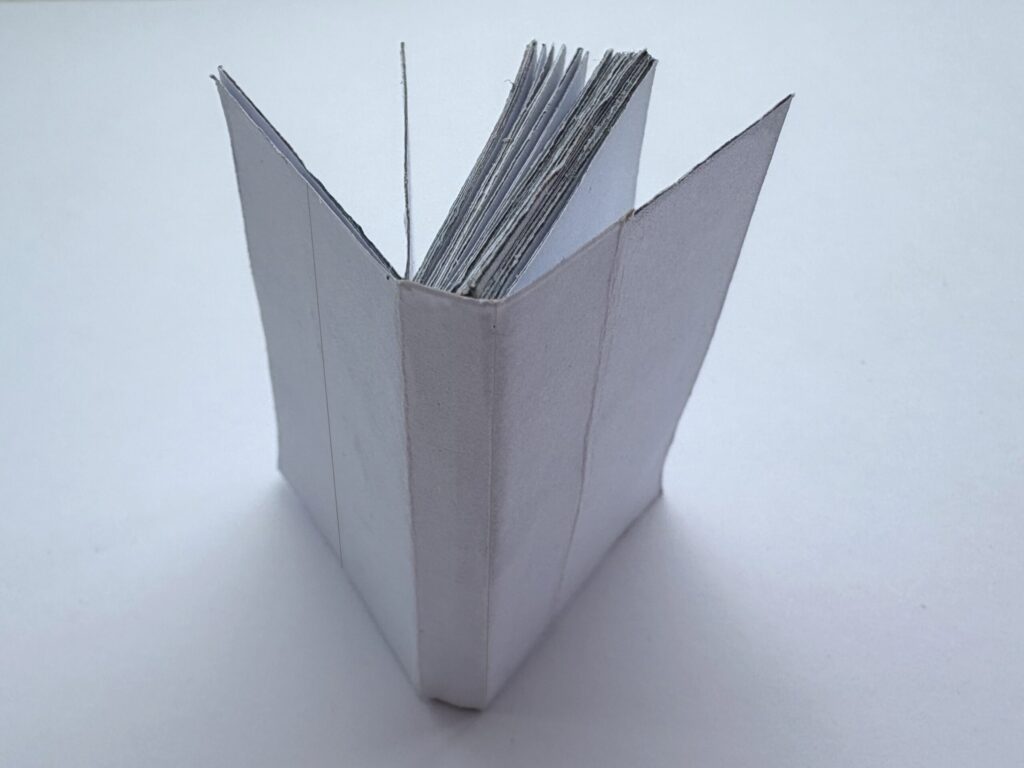
Step 2: Score, Fold & Glue the Cover
Score along fold lines
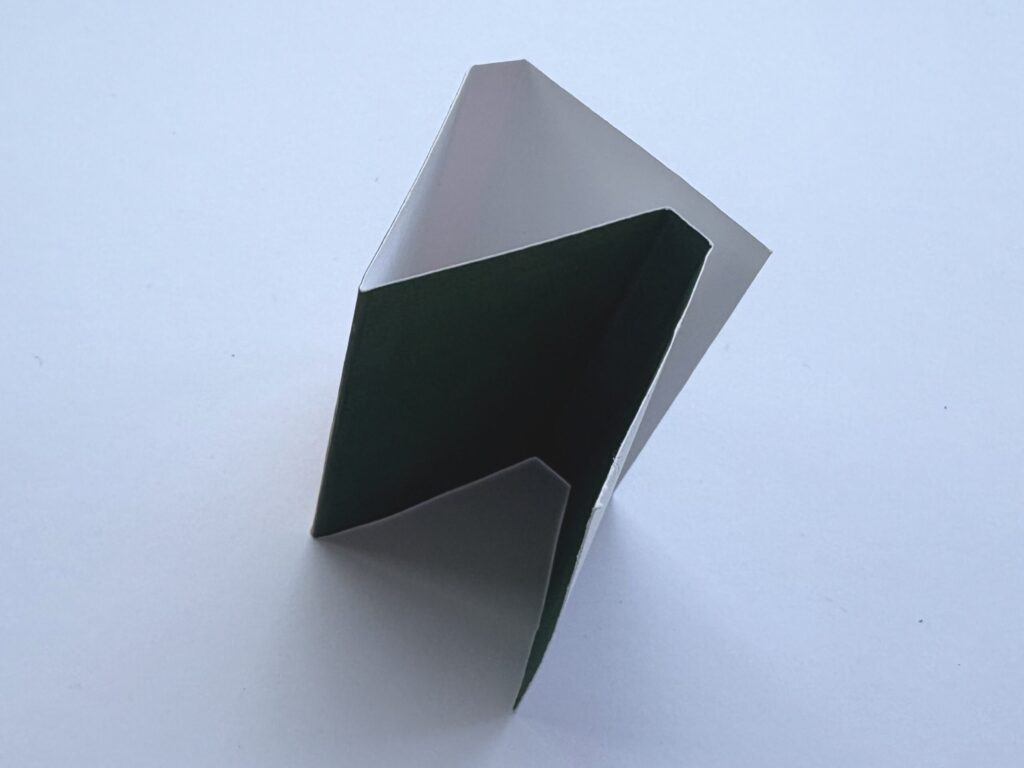
Fold to form a book shape
Glue together
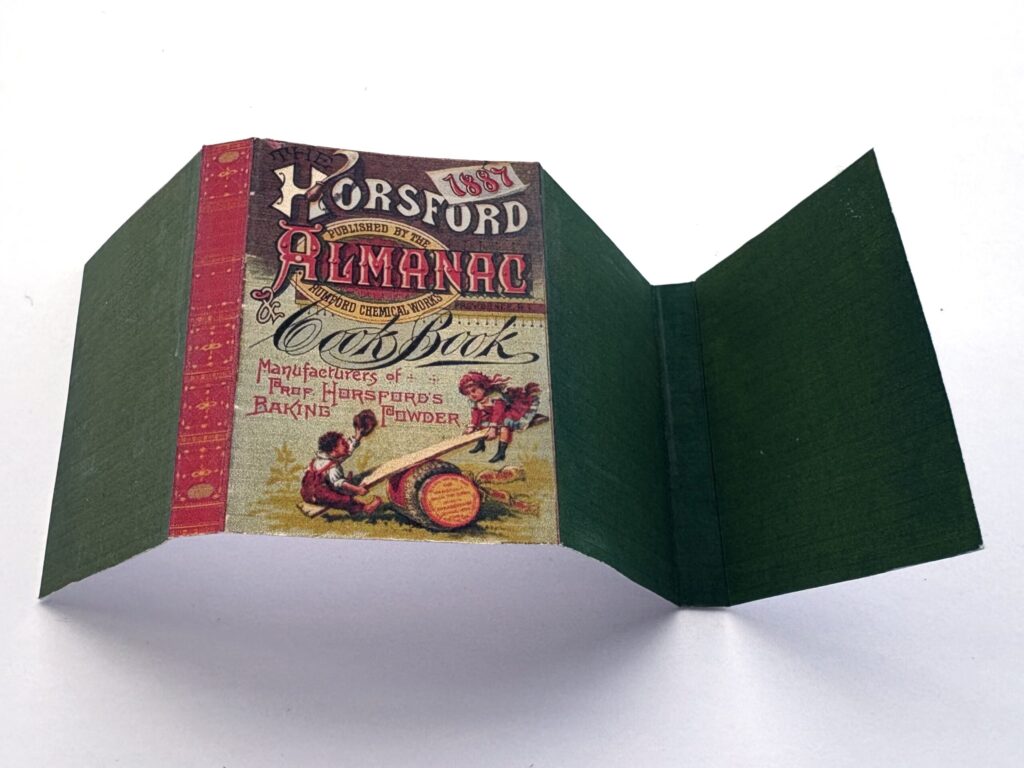
Use a bone folder or the back of a knife to score along the fold lines, then fold gently to shape the front, spine, and back. Glue together.
💡 Tip: Scoring gives you crisp, professional-looking folds.
Step 3: Fold & Glue the Book Pages

Fold in half
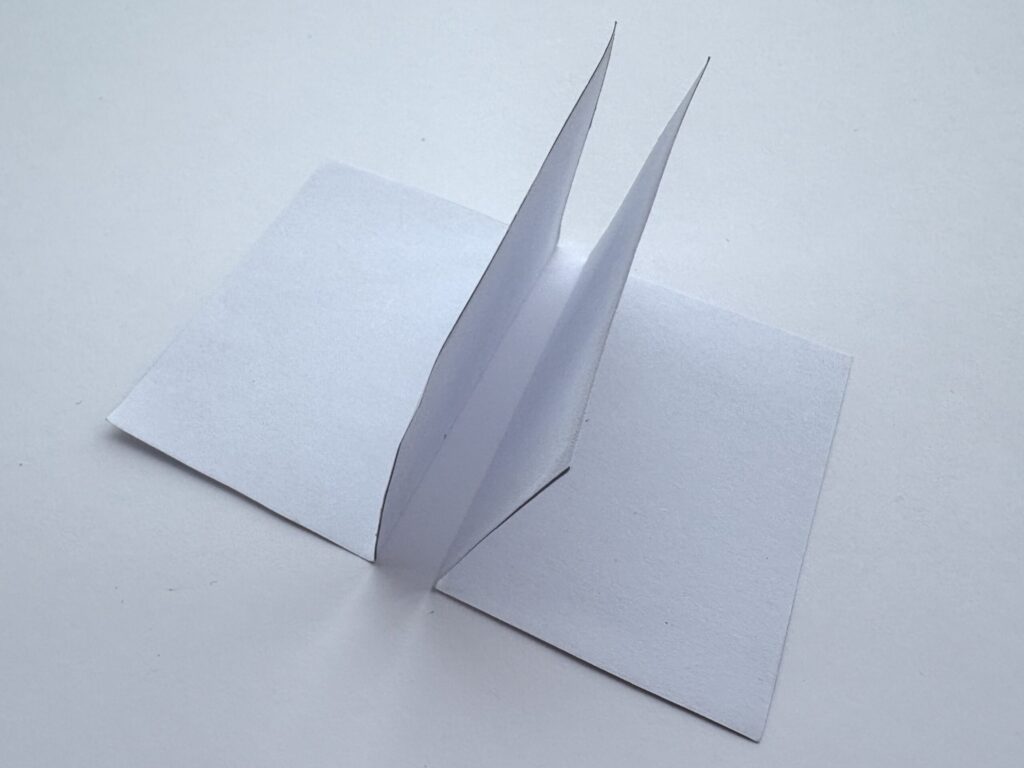
Glue pages together
Keep adding & gluing pages
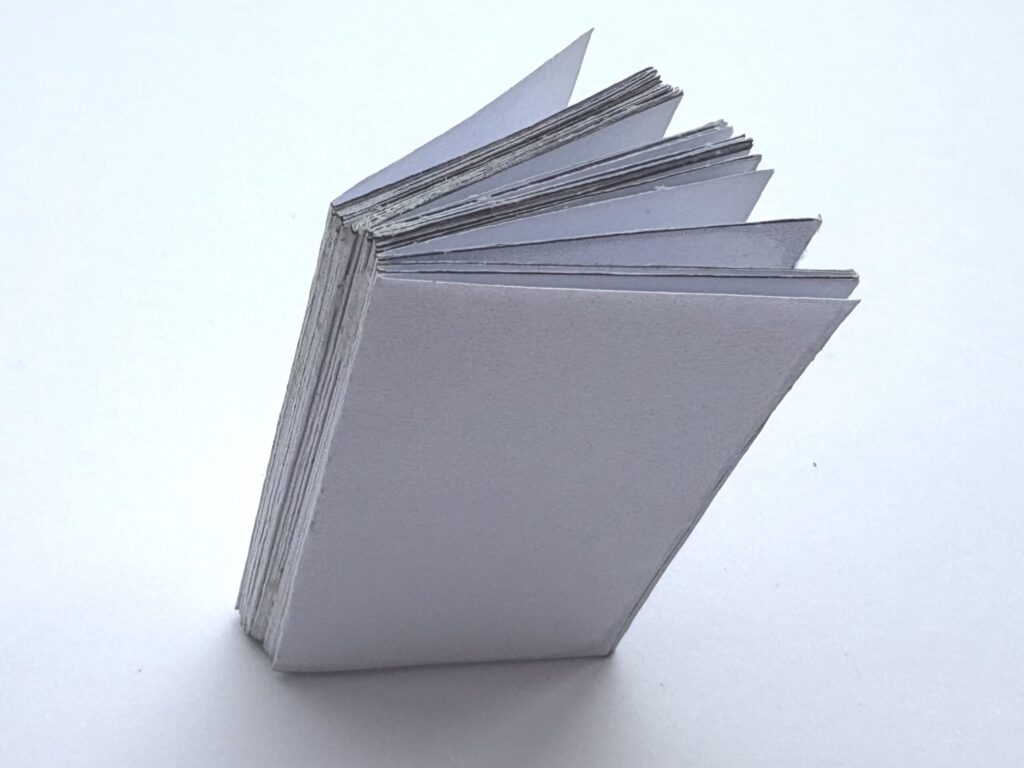
Completed stack of pages
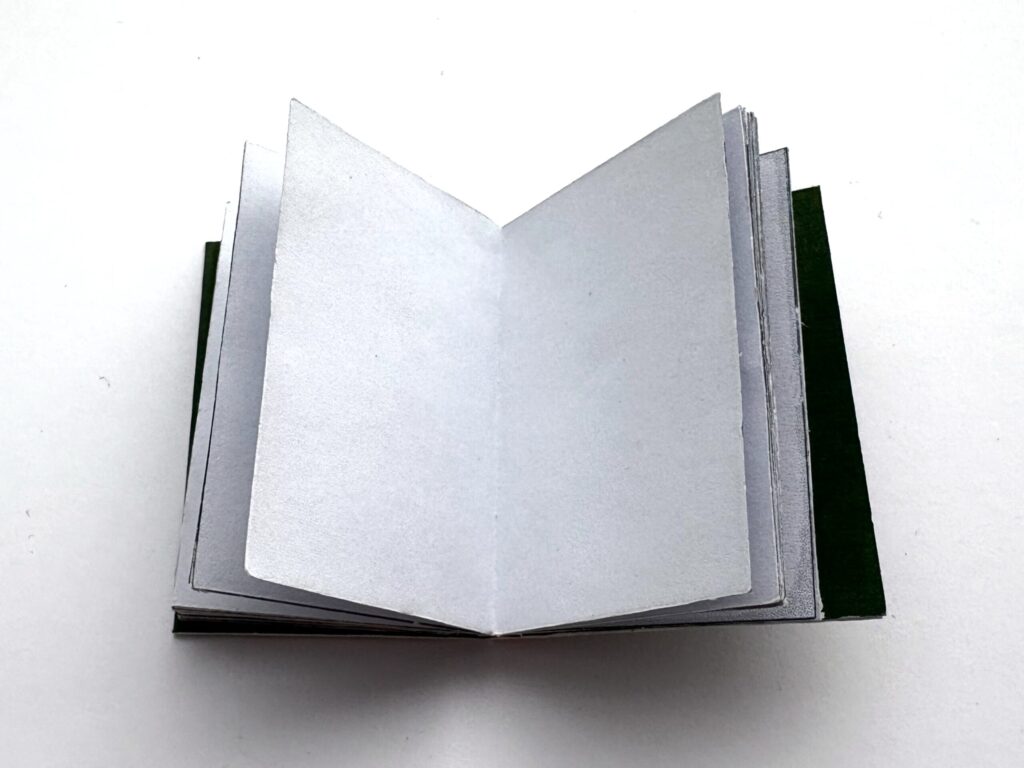
Fold in half each of the 24 pages, to create a two-page spread. Then glue the back of one folded page to the back of another, repeating until you have a single stack of joined pages.
💡 Tip: If you’d like to hide the black border, fold with the lines facing outwards — they’ll be less visible once the pages are glued in place. Or try using your own favourite paper scraps cut to size for a more personal touch.
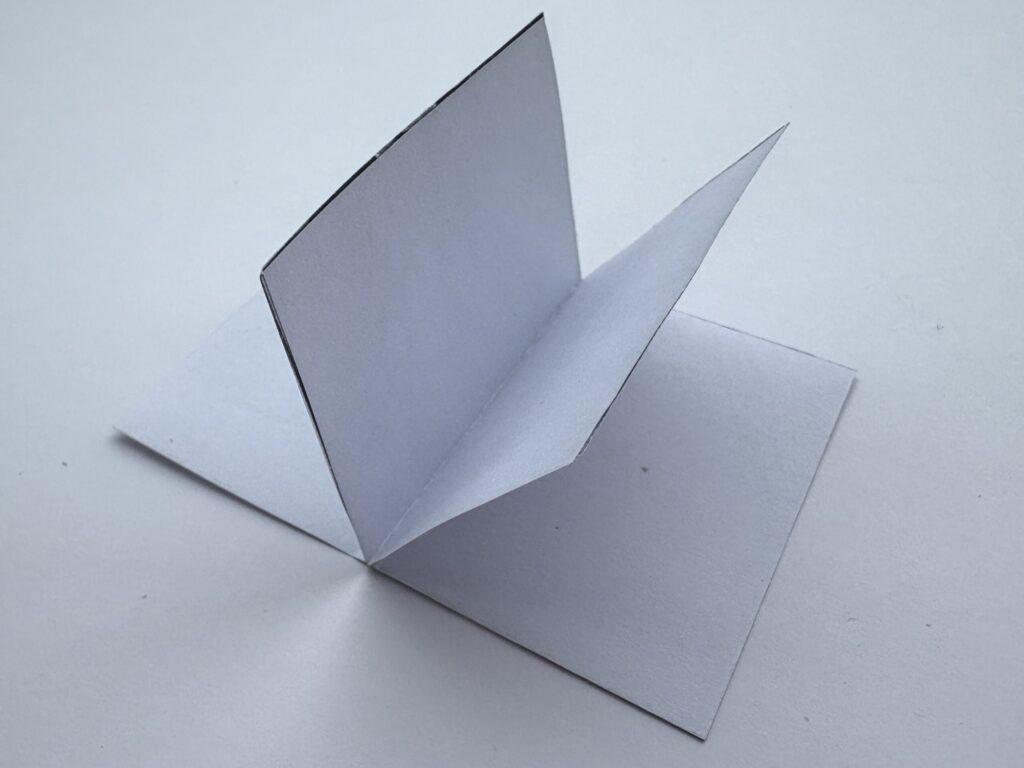
Step 4: Cover the Spine Edge
Stack of pages glued together
Covered spine
To hold everything securely together, cut a strip of paper the same height as your stack of pages and wide enough to wrap around the spine. Glue in place.
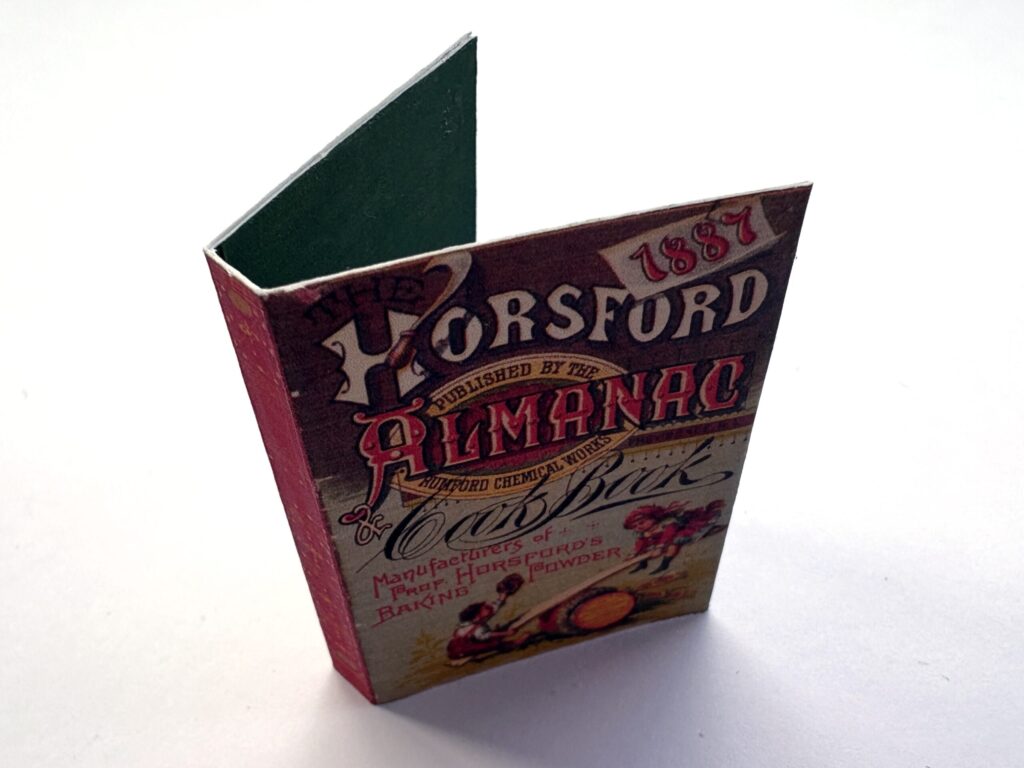
Step 5: Assemble the Mini Book
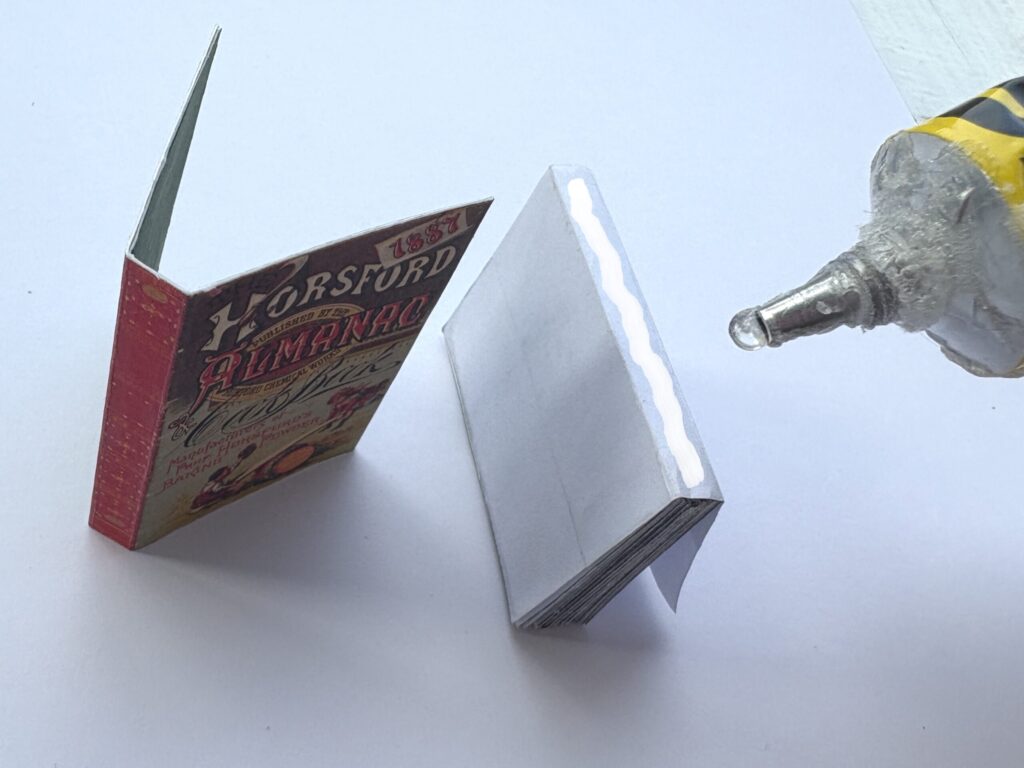
Glue the pages to the cover
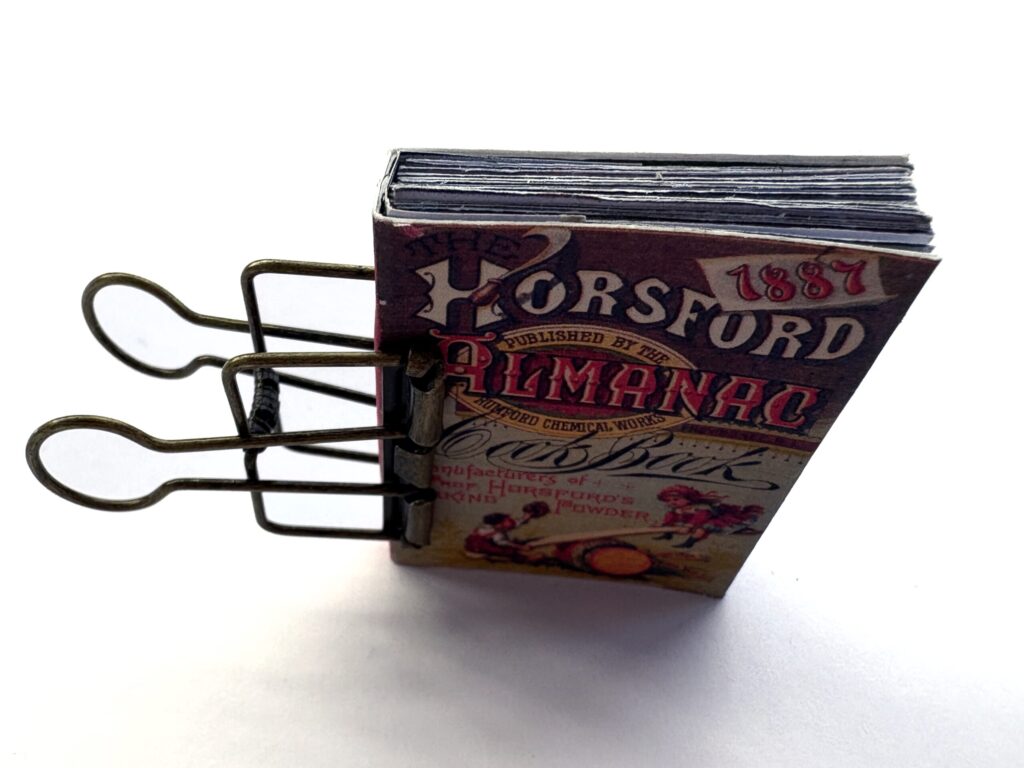
Clip together whilst glue dries
Finished basic book
- Apply a thin line of strong glue along the back of the spine strip you just added.
- Press it into the spine area of your folded book cover.
- Use a bulldog clip to hold everything firmly in place, or gently weigh the book down with a few books until the glue is completely dry.
Your mini book should now open and close neatly with the pages held firmly inside.
Step 6: Add the Inside Covers
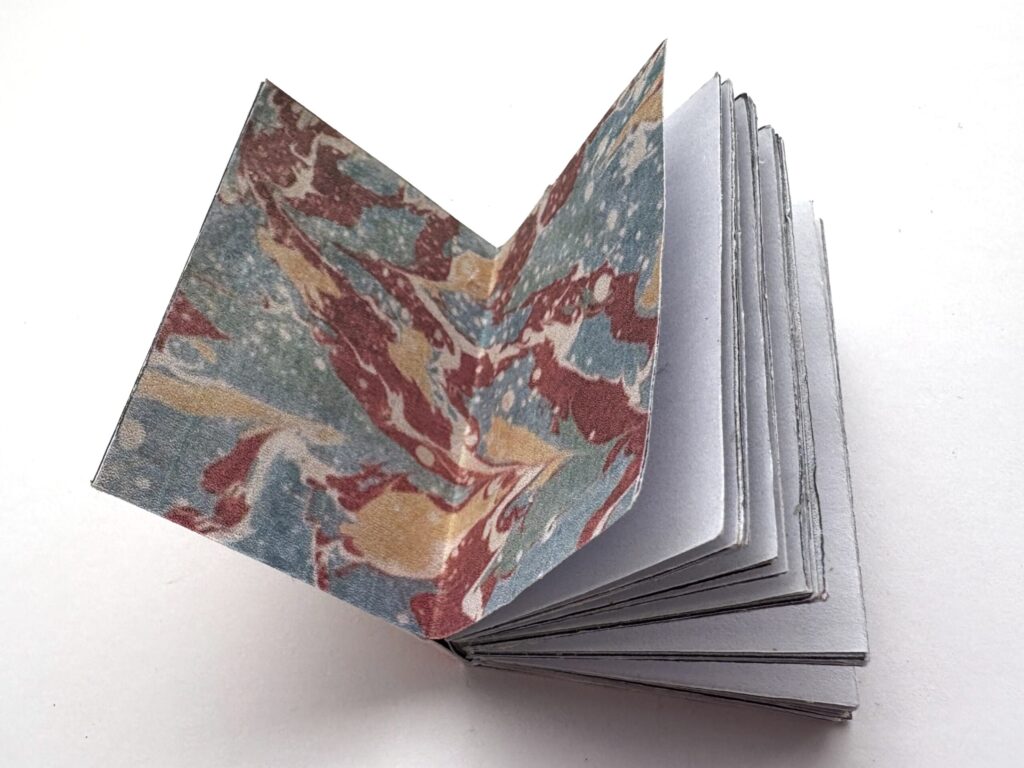
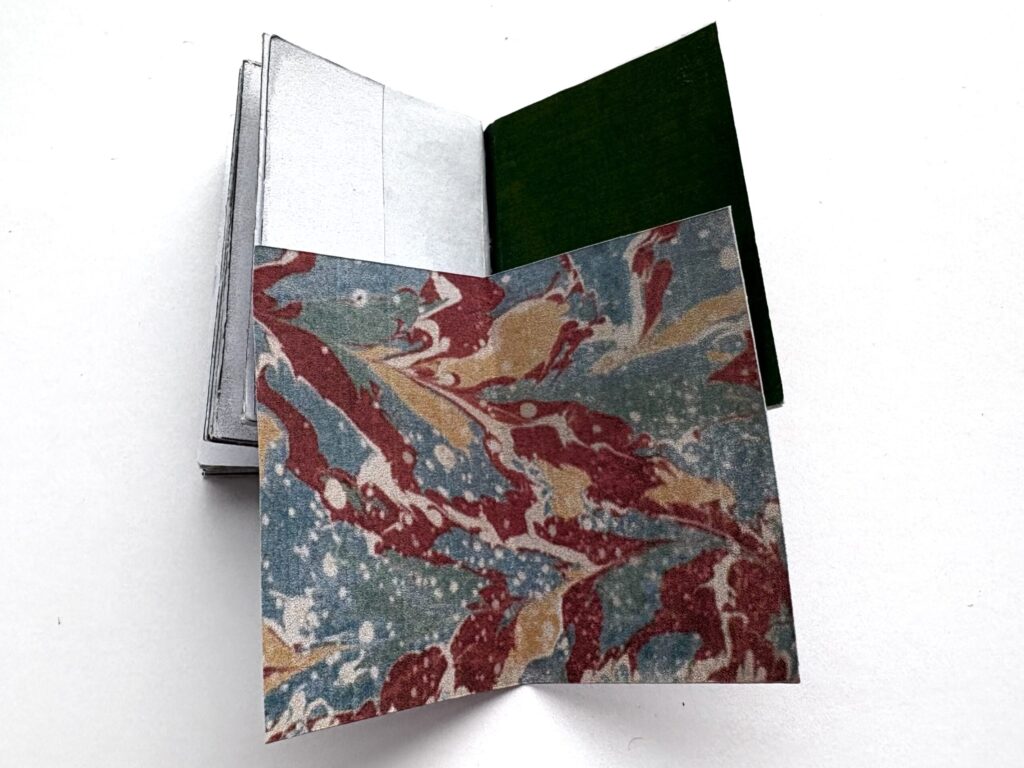
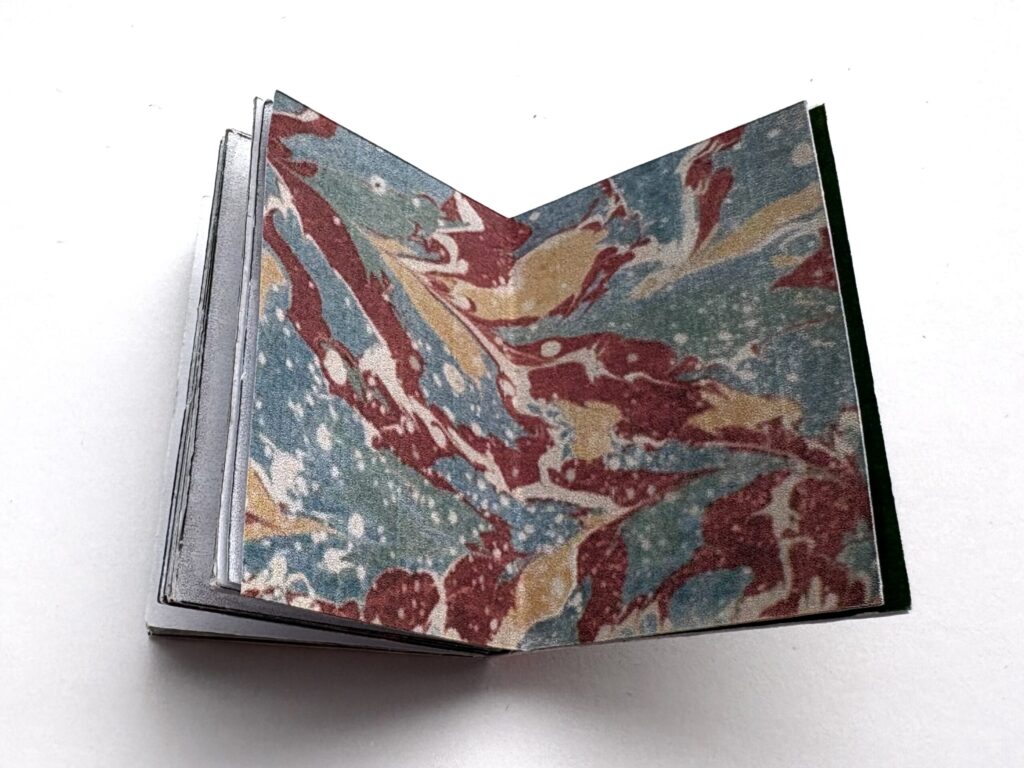
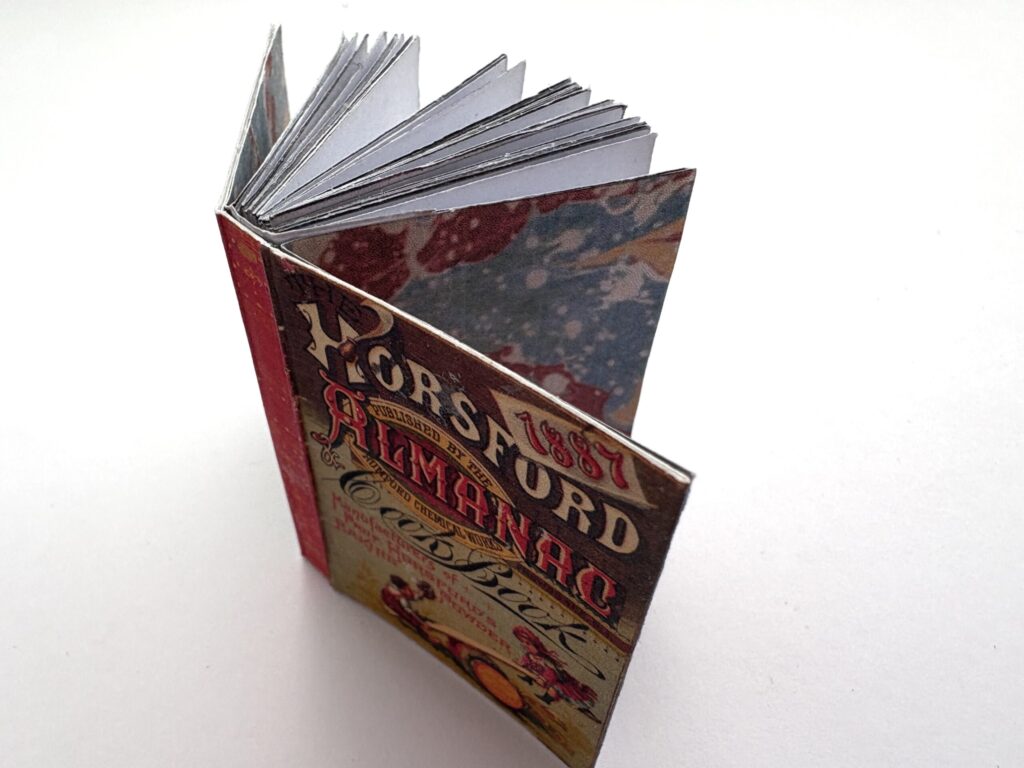
Glue a piece of patterned paper to the inside of the front cover and the first page, then another piece to the last page and the inside of the back cover. This will hide the joins and give your mini book a polished, finished look.
Optional: Embellish and Personalise
Once assembled, decorate your mini book however you wish! Try:
- Adding tiny tabs or stamped words
- Distressing the edges with ink
- Gluing in collage scraps or mini journaling prompts
- Wrapping a thread tie around the spine for extra charm
Mini Book Ideas to Try
- A tiny gratitude journal
- A mini travel diary
- A poem or quote collection
- A pocket art book
Each one becomes its own little treasure — perfect for junk journal pockets, happy mail, or a quick creative session.
Final Thoughts
Creating mini books is such a joyful, calming project — and a lovely way to use printable kits creatively.
If you’ve received this exclusive freebie through my newsletter, I hope it brings you as much creative peace as it did me when designing it.
Leave a Reply