There’s something magical about letting the sun do the work for you. Cyanotype printing—often called sun printing—is an easy, almost meditative process that turns ordinary objects like leaves, lace, and feathers into beautiful blue-and-white images. The best part? You don’t need a darkroom or fancy equipment, just a few sheets of pre-treated cyanotype paper and a sunny spot.
Whether you use the prints as journal pages, pockets, tags, or collage elements, cyanotypes bring a delicate, timeless quality to your work. Here’s how to get started.
What You’ll Need
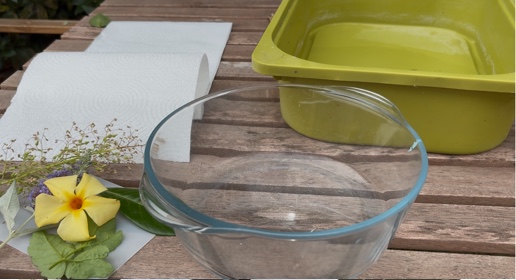
- Pre-treated cyanotype paper (available online or in art supply shops)
- Flat, lightweight objects (leaves, flowers, lace, feathers, stencils, paper cut-outs)
- A piece of clear acrylic sheet or glass (optional, I used a Pyrex dish)
- A tray or board to carry your setup
- Sunlight (or a UV lamp for cloudy days)
- A container of water for rinsing the prints
- Paper towels or a flat drying area
Step-by-Step: Creating Your Cyanotype Prints
1. Work in Dim Light
Cyanotype paper is light-sensitive, so keep it in its protective packaging until you’re ready. Work indoors away from direct sunlight so you have time to arrange your objects without exposing the paper too soon.
2. Arrange Your Design
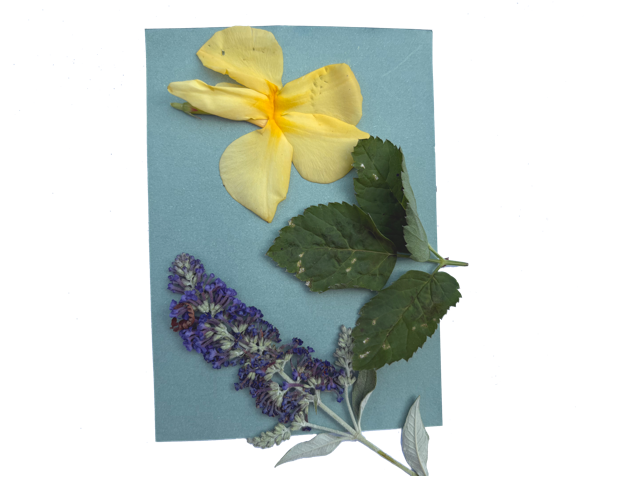
When ready, place your paper light-sensitive side up and arrange leaves, lace, or other objects on top. The closer they sit to the paper, the sharper the print will be. For fine detail—like the weave of lace or fern fronds—lay a piece of acrylic sheet or glass gently over the top to hold everything in place. I actually used a Pyrex dish.
3. Expose to the Sun
Carry outside into direct sunlight. You may need to experiment with exposure times, as they will vary depending on light intensity, but I find 5–10 minutes works well on a very bright summer’s day.
4. Rinse to Reveal
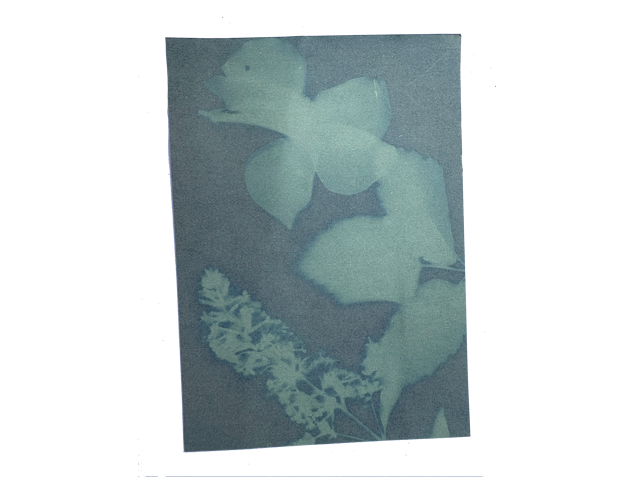
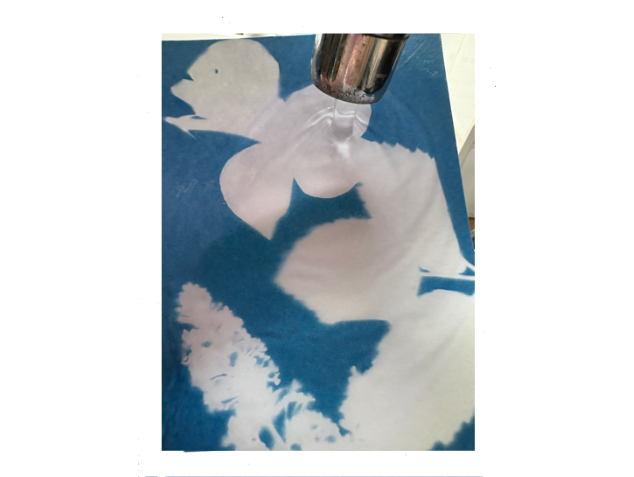
Remove your objects. Rinse the paper in a tray of cool water for about 5 minutes, gently moving it around to wash away the unexposed chemicals. The white areas are where the objects blocked the sun, and the blue areas are where the sunlight hit the paper.
5. Dry Flat
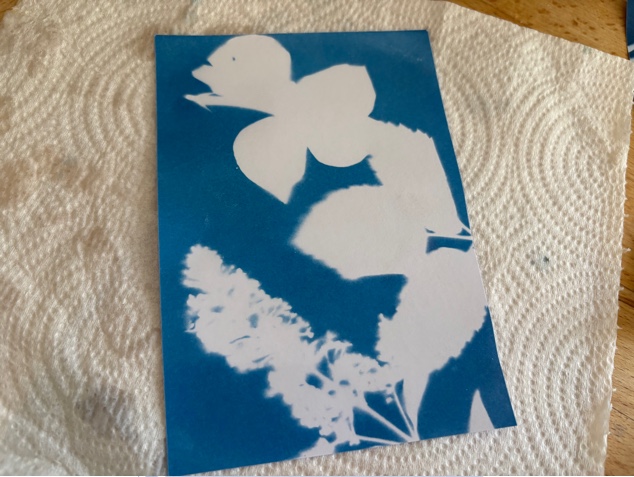
Lay your print on paper towels or hang it to dry. The blue will deepen as it dries, developing that signature Prussian blue tone.
Tips for Beautiful Results
- Texture is your friend — Lace, crocheted doilies, skeleton leaves, and pressed flowers all make gorgeous detail.
- Layer shapes — Try overlapping leaves for depth and interest.
- Experiment with opacity — Transparent or semi-transparent materials like tissue paper or fine netting give ghostly, ethereal effects.
- Make it journal-ready — Cut or tear your dried prints into shapes for tags, tuck spots, or page backgrounds.
Using Cyanotypes in Your Junk Journal

- Full-page inserts — Perfect for adding a dramatic blue-and-white focal page.
- Collage pieces — Tear or fussy-cut shapes from your prints to layer with vintage papers.
- Tags & pockets — Pair with stitching, inking, or stamping for a mixed-media finish.
- Gift extras — Share mini prints in happy mail or swaps with other journalers.
Why Cyanotypes Are So Addictive
There’s a small element of surprise with every print—sunlight, exposure time, and the textures of your objects all combine in unique ways. The process is slow and simple, making it a calming craft session that feels like magic every time.
So next sunny afternoon, grab a few leaves, a scrap of lace, and a sheet of cyanotype paper. Let the light paint for you, and then tuck those little blue treasures into your next journal

PS: I’ve added a set of free vintage New Zealand fern cyanotypes to the Well Loved Vault. Sign up to the newsletter for instant access, plus seasonal digitals and email-only freebies.
Leave a Reply